I am going to show you how I created an image in sepia from an image this is colour, it was easy to do and was done in a few simple steeps. I am going to do a steep by steep guide on how I achieved the effect.
1: First open the image that you want in Photoshop. Then you need to turn the image black and white by going to Image - Adjustments - Desiderate.


2: We then need to open the colour balance box by going to Layer – New adjustment layer- Colour balance.

3: With this box open we need to bring the red up and the yellow down creating the desired effect. You can move the numbers until you are happy with the finished effect but I found the best number to be as follows. Red 43, Green 0, Yellow -43.

I used Photoshop CS5 for this image.
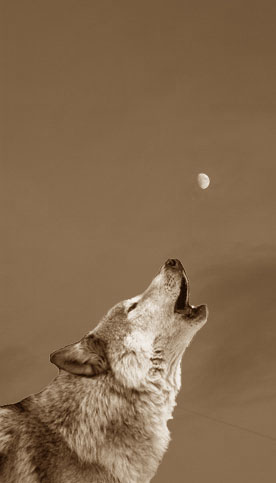
Moon my own image.
Wolf from http://www.google.co.uk/imgres?imgurl=http://www.top-dogs-names.com/images/wolf-howl.jpg&imgrefurl=http://www.top-dogs-names.com/list-of-dog-names-male-ef.html&usg=__scPnn-OSKG_m8FYZ0sCAKbIMqb8=&h=390&w=450&sz=27&hl=en&start=0&sig2=g5HqVq-vZOqJQHItPiwosQ&zoom=1&tbnid=nzvCBPLPyPpmCM:&tbnh=127&tbnw=142&ei=cNg2TYOfAoGHhQeb-dipAw&prev=/images%3Fq%3Dhowling%2Bwolf%26um%3D1%26hl%3Den%26sa%3DN%26rlz%3D1G1TSEH_ENUK384%26biw%3D1345%26bih%3D562%26tbs%3Disch:1&um=1&itbs=1&iact=rc&dur=232&oei=cNg2TYOfAoGHhQeb-dipAw&esq=1&page=1&ndsp=26&ved=1t:429,r:22,s:0&tx=69&ty=75
No comments:
Post a Comment